Best Pizza Crust Recipe
You’ll Never Want Delivery Again!
My kids love pizza, as many kids do, and so I thought it might be fun to make it at home and see how the family liked it. I remember having homemade pizza at home… it was ok, so I wasn’t expecting much, but I set out to find the best pizza crust recipe. After a few tweaks, we found a great crust!
I liked it, the kids liked it, and my husband liked it… so it was a win! It is also a great item to have kids make to get them comfortable in the kitchen.
Teaching the Kids to Cook
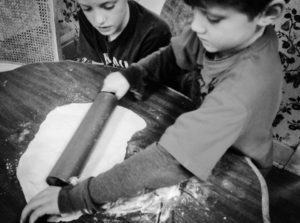
I thought starting with the pizza recipe would be a great recipe to allow the kids to do something from start to finish. The recipe is fairly simple, and in general, it wasn’t hard for the kids.
I started showing them how to measure the flour, using a knife to level the flour, the differences between tablespoons and teaspoons, and so on. The first time they watched me, the second time they each measured something, the third time they helped with the water temperature, and the fourth time they did it on their own, well, I put the pizzas into the oven but they did the rest!
Now, if my kids want pizza, they can go make the crust for pizza, and they do it! I love that they can do this and they do too, it gives them confidence.
Making Pizza At Home
As far as the crust goes… it is soooo good and worth trying! This recipe does require yeast, so water temperature is important, you don’t want to kill the yeast, and it does need to rise, but it only takes a few minutes to put the ingredients together. Also, the recipe makes 2 pizza crusts!
What You Will Need
For the pizza crust, you will need…
- all purpose flour
- sugar
- salt
- olive oil (or coconut oil)
- yeast
- water at about 112℉
To make your crust…
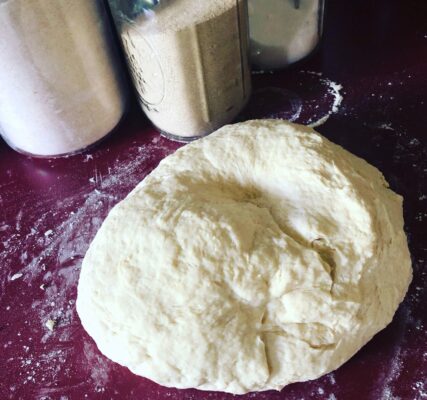
- Mix your flour, yeast, sugar, and salt into a mixer to combine the dry ingredients. Then, mix in the oil. Lastly, combine the water into the mixture slowly, until dough forms. Form dough into a ball. Pour a little oil into the mixer or another larger mixing bowl, and grease the bowl. Lastly, add the dough ball into the greased bowl and cover with a towel for an hour.
- Once risen, cut the pizza dough into half, shape into smaller balls of dough, and place them on a slightly floured surface… close enough together that the towel can cover them again. Allow to sit another 10 minutes. Preheat your oven here to 475℉
- To shape crust, flour your surface and rolling pin, then roll out your pizza dough to desired shape, making sure you don’t make it too large to fit the surface you are using to cook it on. Also, don’t roll it too thin.
- Once rolled out, it is ready to add toppings
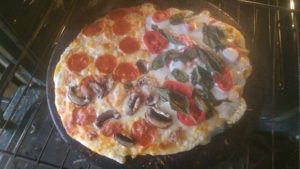
- I cook the pizza for about 10 minutes, but this will vary, so check for desired goldenness to your pizza
Notes:
- To bake the pizza, I use a pizza stone in our oven. As the stone needs to be heated with the oven (don’t put your cold stone into a hot oven), I pull out my oven rack a little, with the stone on it, and place the pizza crust directly onto my stone. I then add my sauce and toppings, so have them ready! After dressing the pizza, I push the rack in and shut the oven door.
- I use a pizza spatula to transfer the pizza from the oven once it is done, but it is a little hard to maneuver uncooked dough on it, which is why I don’t use it to get the dough into the oven. However, using a circular baking sheet instead of a pizza stone or spatula would work too. You could even do a rectangular pizza. I will say that having the pizza stone has made all the difference for me, so I do recommend it!
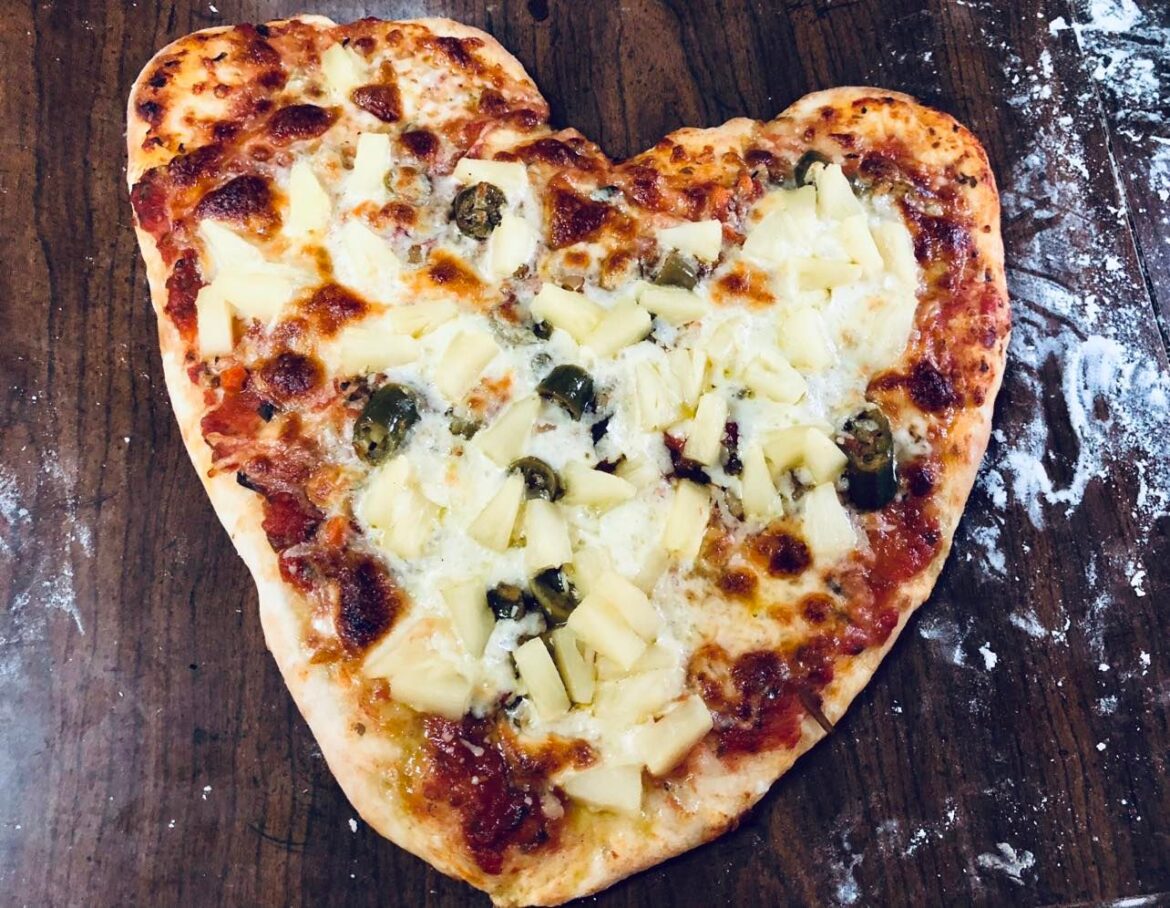
- You can shape your pizza, we have mostly done just heart shapes, but it is fun!
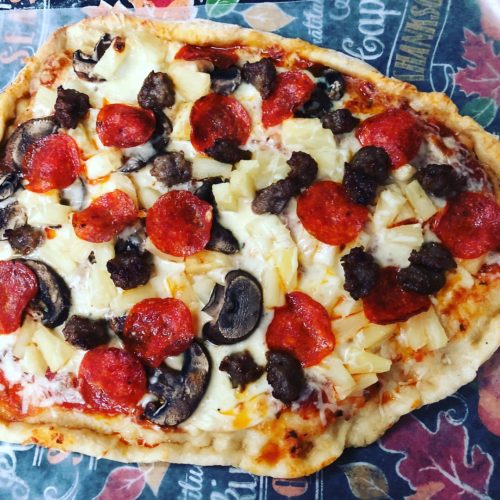
- We’ve tried all different types of things on the pizza and each time it has come out very tasty. After a few hundred pizzas… seriously… we haven’t had a bad one!
Pizza Combos
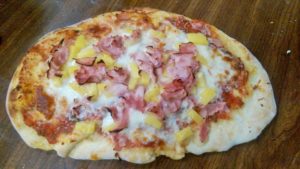
We really have tried it all… even bacon and banana pizza, which is common in South Africa. We had a friend from there tell us to give it a try. We loved it… I can’t find a picture of it though, but if you like ham and pineapple, you’ll like that too… assuming you like bacon and banana.


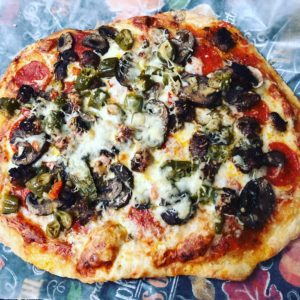
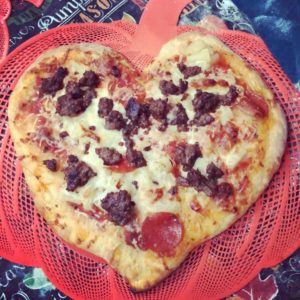
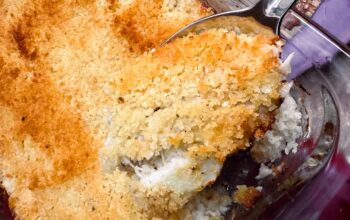
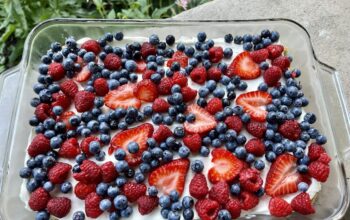
So, looking at the pictures… I realize they might not look like much, but you will just have to trust me. They are fun to make and the crust is really good!
However you like your pizza… I hope you enjoy this crust! Don’t forget to print it below and feel free to comment below or head over to Instagram or Facebook and share with our community… tag me @bemandfam!
BEM + Fam 🙂 ![]()
![]()
![]()
![]()
![]()
![]()
![]()
![]()
![]()
![]()
![]()
![]()
Update 2/9/2024 – We still love this pizza and use it for breadsticks too! To do this, make the dough as mentioned and cut it into pieces to let rest for the ten minutes mentioned in the recipe. I can make at least 8 breadsticks pure dough ball and as this recipe makes 2 dough balls for pizza, you could make at least 16 breadsticks or one pizza and 8 breadsticks.
After allowing the dough to rest the 10 minutes, simply roll out the pieces into a breadstick shape, put them on a cookie sheet with parchment paper, and brush melted butter on them. Don’t worry if they don’t look perfect. Put them into a 475℉ oven for about 8 minutes or until a bit golden. Pull them out and allow them to rest for a couple minutes and then add some more butter and garlic powder/salt if wanted.
Enjoy!
- 4 cups all purpose flour
- 1 tsp sugar
- 2 tsp salt
- 1 packet instant dry yeast
- 1 1/2 cups 110 degree water
- 2 Tbsp olive oil
- 2 tsp olive oil
-
Mix the flour, sugar, yeast and salt in the bowl of a stand mixer and combine.
-
With the mixer running, add the water and 2 Tbsps of oil and mix until the dough forms into a ball. If the dough is sticky, add 1 Tbsp of flour, until the dough comes together. If the dough is too dry, add 1 Tbsp of water.
-
Scrape the dough onto a lightly floured surface and gently knead into a smooth, firm ball.
-
Grease a large bowl with the remaining 2 teaspoons olive oil, add the dough, cover the bowl with plastic wrap or lay a clean and dry dish towel over it, and put it in a warm area to let it double in size, this usually takes an hour.
-
Once it has risen, turn the dough out onto a lightly floured surface and divide it into 2 equal pieces. Cover each with a clean kitchen towel or plastic wrap and let them rest for 10 minutes. Don't skip this step! Preheat your oven to 475 degrees
-
After the dough has sat for 10 minutes, it is ready to shape into pizza. Use a rolling pin and roll out the dough. Add your sauce and toppings and place on a pizza pan or pizza stone. Cook for about 10 minutes or until the edges begin to brown and the pizza cheese is melted nicely!
- We use our own homemade canned sauce (recipe coming)
- One of our favorite pizzas has giardiniera on it and instead using our regular sauce, we use the giardiniera, and the oil it is packed in, as the base to the pizza. This makes a crispier and thinner pizza crust... it is yummy but can get spicy.
- If you use sausage do NOT put it on the pizza when you put it in, put it on about half way through to make sure it doesn't burn, as the sausage is already cooked. Though you could try putting it under the cheese but make sure it gets covered.
- Another of our favorite pizzas is fresh mozzarella, basil, tomatoes, with a olive oil base (instead of sauce), and a light sprinkle of salt.
- You can brush a little melted butter onto the crust half way through and right as the pizza comes out of the oven to add a little more to the crust.

PS. This post has some affiliate links, read more about those here.