Berger Cookie Recipe
Cookies for Chocolate Lovers
 While learning about Edgar Allan Poe, who spent much of his life in Baltimore, the kids and I went looking for a Baltimore food to make and came across the Berger Cookie. I had never heard of these cookies before and wanted to learn more about them.
Apparently, Berger Cookies are a Baltimore staple. They came to America in 1835, when Henry Berger, a German immigrant, opened a bakery in the United States.
Here he sold these cakey cookies with what seemed like endless, fudgy icing and they became a hit. Henry’s bakery was run by his son for a while but eventually, it changed hands. Today, Berger Cookies are sold around Baltimore and can be bought online. You can see them here.
I actually thought about having some shipped but after looking at their ingredient list, I decided to try to make them. I am sure if we visit Baltimore, I will probably buy some, but with artificial ingredients and unnecessary dyes, having them shipped wasn’t something I was willing to do. My assumption is that over the years the recipe was slightly changed to make the cookies cheaper to make.
Anyway, I looked at a few recipes and modified one from King Arthur Baking Company, so while there might be some that say these aren’t true Berger Cookies and I haven’t tried the originals, these turned out deliciously.
What You Will Need
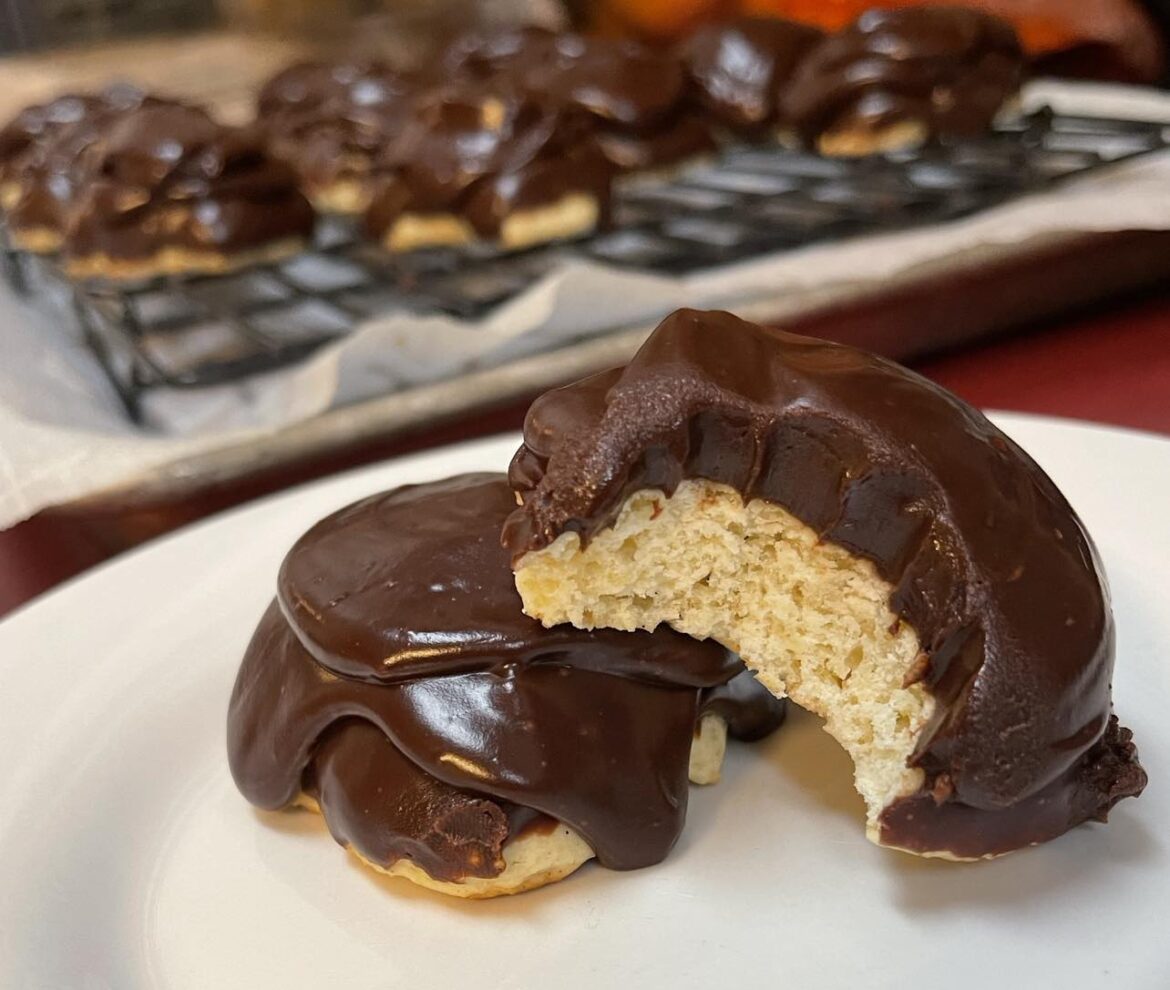
These cookies have two parts, the cookie and the icing. The cookie is not a traditional cookie, it almost resembles a biscuit, and the icing is almost as thick as the cookie itself.
Cookie Ingredients:
- butter
- salt
- vanilla
- baking powder
- egg
- flour
- sugar
- milk
Icing Ingredients:
- dark chocolate chips
- maple syrup
- heavy cream
- vanilla
- salt
- powdered sugar
Making Berger Cookies
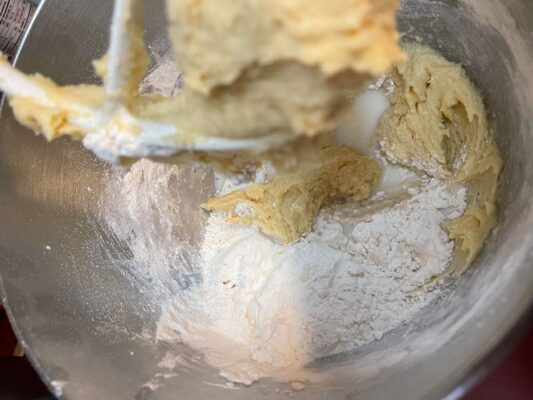
As these cookies are not like traditional cookies, the dough will feel different. The dough will be sticker and in general may work more like biscuit or scone dough. The key is to NOT over mix, just combine the ingredients.
- Preheat the oven to 375℉ and line baking sheets (you will probably need 2) with parchment paper
- Mix butter, salt, vanilla, and baking powder until smooth
- Add sugar and mix thoroughly
- Beat in egg until creamy
- Add the flour and milk a little at a time, but together (for example, 1/2 cup of flour with a little milk and mix on medium, then repeat until done). Here you want to just combine the ingredients, do not overmix
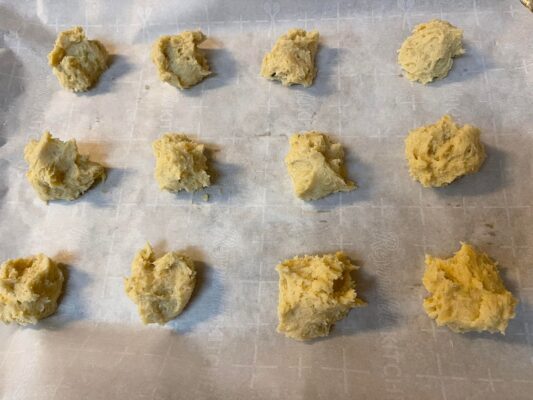
- Use a tablespoon and drop the cookies onto the sheet. The dough can be sticky, this is normal. If it is too sticky, dip your fingers into a little flour. The picture shows very natural, unformed cookies but if you want more rounded cookies then simply round the dough more. As the dough is sticky make sure your have some flour on your hands.
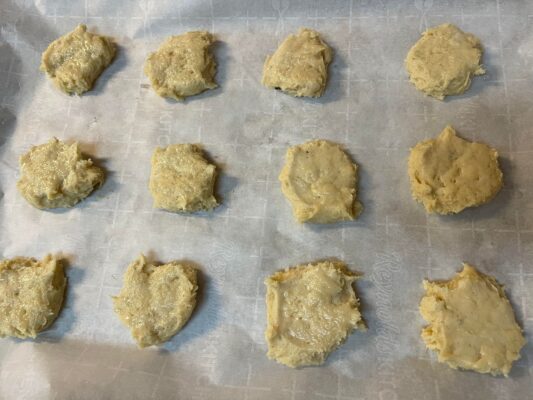
- Use the back of a measuring cup or the bottom of a glass and wet it with water, then, push the cookies until slightly flattened
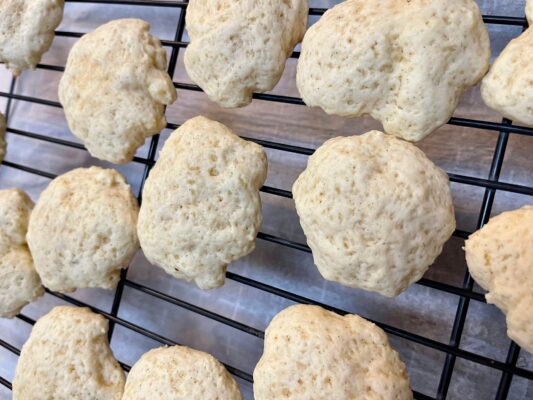
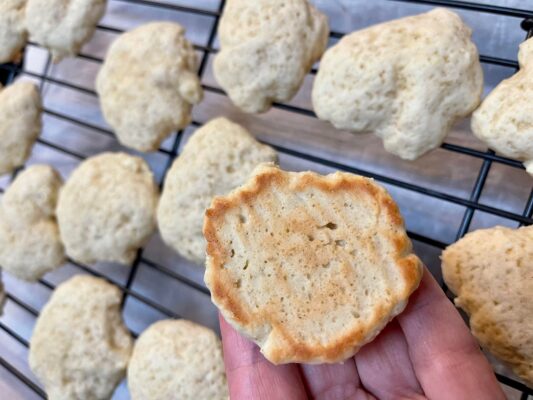
- Put the cookies into the oven for 10 minutes.
- When done, they will NOT appear golden or brown on the top, you want them cooked but not brown. They might have a biscuit appearance and will have a little browning on the bottom
- Place cookies out to cool completely and start making the icing. I recommend putting them on a cooling rack a few minutes to cool… see note below.
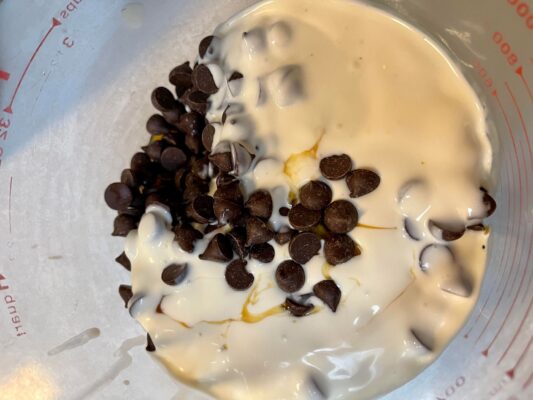
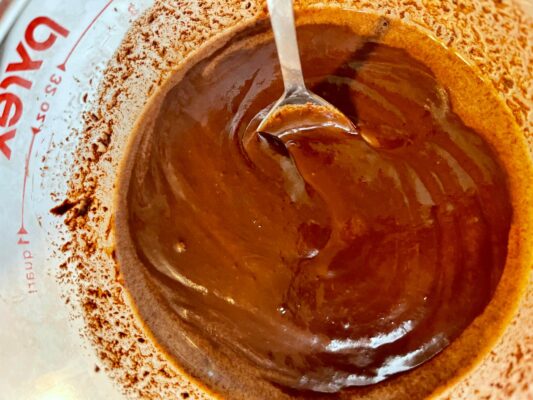
- Place the chocolate chips, milk, and maple syrup into a microwave-safe dish or on the stovetop. If microwaving, heat for about 60-90 seconds and then stir. Add back to the microwave if needed for 20-30 second periods, stirring between each time. Do this until completely melted. If using the stovetop, stir frequently until melted and stir until smooth
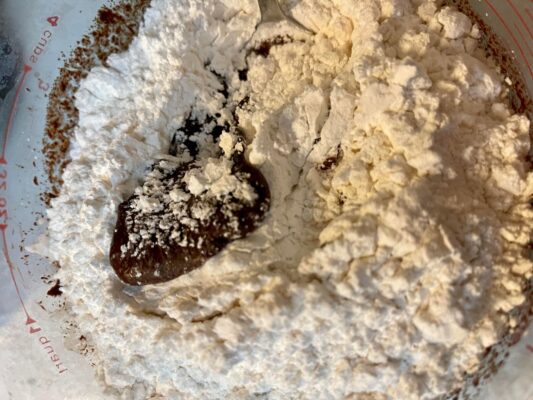
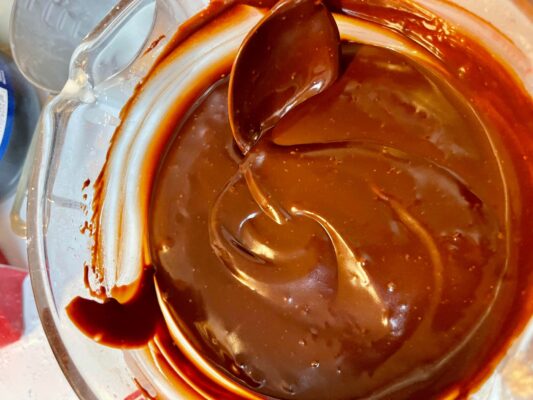
- After the chocolate is melted, pour it, the powdered sugar, and vanilla into a mixer or use a hand mixer and mix the ingredients until well combined. You can stir by hand but the powdered sugar can clump
- Let the icing cool until it begins to thicken, this is important because otherwise, the icing will just fall right off the cookies
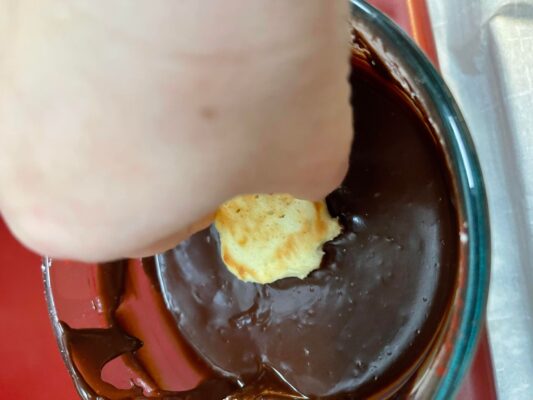
- Once cooled a little, dip the cookies into the icing. The icing should be easy to stir with a spoon but thick enough not to be runny. Here is where I deviated from True Berger cookies as they are dipped on the bottom or flat side of the cookie and not the top. This leaves an almost rounded cookie when done… a rounded top of the cookie and a rounded chocolate mound on the bottom. I didn’t do it this way, I dipped the top because I wasn’t sure how the rounded side of the cookie would rest with the icing on top of it. However, for a true Berger cookie, dip the bottom of the cookie into the chocolate and then place the top side down onto a rack to allow the icing to set.
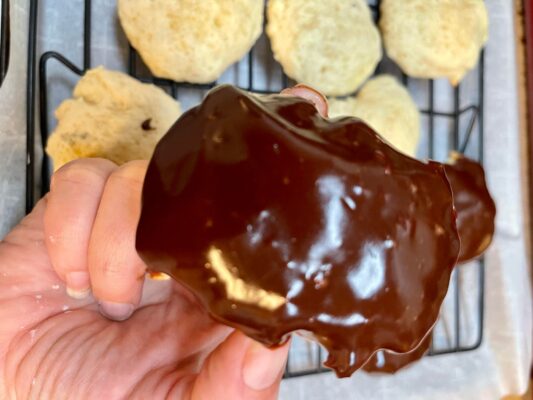


- After dipping all of the cookies allow them to set for a few minutes or put them in the refrigerator for 5 minutes. Then, use a spoon to mound more chocolate on each cookie. You could dip them again but the icing on the cookie will need to be totally set and I find it easier to spoon more on. Repeat the process until you have mounds of chocolate and have gone through most, if not all, of your icing. Here I did three “dippings” and used all of the chocolate.
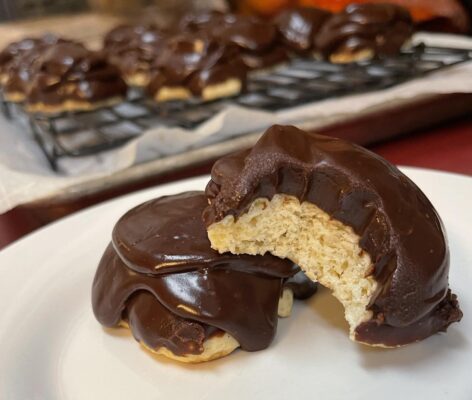
- Allow icing on the cookies to set for about 10 minutes or longer, and enjoy.
Notes
- I have been surprised to hear how many people don’t own cooling racks. They are inexpensive and useful as cookies continue to bake on the bottoms if left on the cookie sheet. If you don’t own any, head here to grab some. I recommend this 2 pack as they are stainless, which allows for less rusting when washing.
- As I said above, Berger cookies are not flat on the bottom, the bottom gets dipped, making them round on both sides. I didn’t do this because I was tired and I wasn’t sure how the rounded side would sit on the cooling rack with mounds of chocolate. However, feel free to do this and let me know how it went… I will probably try it next time.
- Once iced, these cookies can be frozen for a couple of months. Just sit them out and allow them to thaw on the counter before eating.
- My family thought these cookies tasted even better the second day but know that these are very indulgent and sweet cookies. One may be enough!
- The cookie portion could be used for other things, omitting the chocolate. I think making these and adding jam would be cute and tasty for brunch or maybe even some chives added could create a savory biscuit. There is definitely room to explore here.
- The main changes I made from the inspiration recipe was adding maple syrup instead of corn syrup and choosing dark chocolate chips over semi-sweet. So if you don’t like dark chocolate that is ok, go with what you like. I know some like corn syrup in baking, which is different than high-fructose corn syrup, but I don’t usually have it and prefer maple syrup.
Enjoy This Baltimore Classic
My kids liked these cookies but I think my husband LOVED them! They were a bit different and I am very glad we chose them as our choice from Baltimore. As Berger Cookies and Edgar Allan Poe overlapped in Baltimore… who knows, maybe even Poe enjoyed these too!
Don’t forget to print the recipe… and if you make these please let me know what you think! You can comment below or head over to Instagram or Facebook and share your pics… tag me @bemandfam!
Don’t forget to pin this for later and if you like Pinterest, I am there too!
BEM and Fam 🙂
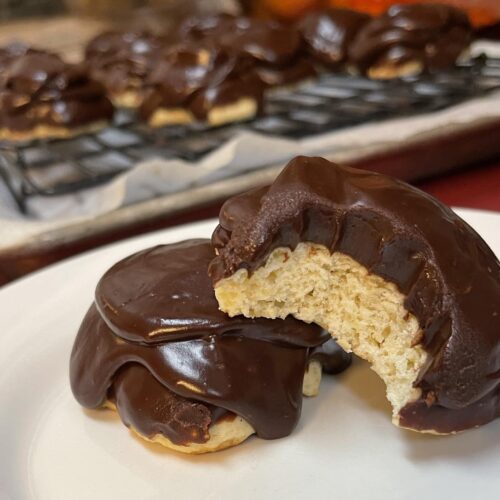
These cookies are a Baltimore classic that any Chocolate Lover will enjoy!
- ⅓ cup softened butter
- ½ tsp salt
- 1 tsp vanilla extract
- 1 tsp baking powder
- 1 egg
- 1½ cups flour
- ½ cup sugar
- ⅓ cup milk
- 2 cups dark chocolate chips sub with other chocolate if you would like
- 1½ tbsp maple syrup
- ¾ cup heavy cream
- 1 tsp vanilla extract
- 1½ cups powdered sugar
- ⅛ tsp salt
-
Preheat the oven to 375℉ and line baking sheets (you will probably need 2) with parchment paper
-
Mix butter, salt, vanilla, and baking powder until smooth
-
Add sugar and mix thoroughly
-
Beat in egg until creamy
-
Add the flour and milk a little at a time, but together (for example, 1/2 cup of flour with a little milk and mix on medium, then repeat until done). Here you want to just combine the ingredients, do not overmix
-
Use a tablespoon and drop the cookies onto the sheet. The dough can be sticky, this is normal. If it is too sticky, dip your fingers into a little flour
-
Use the back of a measuring cup or the bottom of a glass and wet it with water, then, push the cookies until slightly flattened
-
Put the cookies into the oven for 10 minutes. They will NOT appear golden or brown, you want them cooked but not brown. They might have a biscuit appearance
-
Place cookies out to cool completely and start making the icing
-
Place the chocolate chips, milk, and maple syrup into a microwave-safe dish or on the stovetop. If microwaving, heat for about 60-90 seconds and then stir. Add back to the microwave if needed for 20-30 second periods, stirring between each time. Do this until completely melted. If using the stovetop, stir frequently until melted and stir until smooth
-
After the chocolate is melted, pour it, the powdered sugar, and vanilla into a mixer or use a hand mixer and mix the ingredients until well combined. You can stir by hand but the powdered sugar can clump
-
Let the icing cool until it begins to thicken, this is important because otherwise, the icing will just fall right off the cookies
-
Once cooled a little, dip the cookies into the icing. The icing should be easy to stir with a spoon but thick enough not to be runny.
-
After dipping all of the cookies allow them to set for a few minutes or put them in the refrigerator for 5 minutes. Then, use a spoon to mound more chocolate on each cookie. You could dip them again but the icing on the cookie will need to be totally set and I find it easier to spoon more on. Repeat the process until you have mounds of chocolate and have gone through most, if not all, of your icing.
-
Allow icing on the cookies to set for about 10 minutes or longer, and enjoy.
- True Berger cookies are dipped on the bottom or flat side of the cookie and not the top. This leaves an almost rounded cookie when done… a rounded top of the cookie and a rounded chocolate mound on the bottom. I didn’t do it this way, I dipped the top because I wasn’t sure how the rounded side of the cookie would rest with the icing on top of it. However, for a true Berger cookie, dip the bottom of the cookie into the chocolate and then place the top side down onto a rack to allow the icing to set.
- I used all the icing and this took 3 "dippings"

PS. This post has some affiliate links, read more about those here.

