Earth’s Layers Activity for Kids (Easy Salt Dough Science Project)
Playtime Can Be Learning Time
When we were learning about the Earth’s layers in homeschool, I wanted something more interactive than just reading a diagram in a book. So… we made this Earth’s layers activity… tiny Earths out of homemade salt dough.
It was simple, messy in an easy way, and honestly one of those little projects the kids remembered long after the lesson ended. This is the kind of activity that helps younger learners actually see the Earth’s layers instead of just memorizing the words crust, mantle, and core… and because it doubles as sensory play and art, it feels more like playtime than school.
🌎 Why This Activity Works So Well
This Earth’s layers activity is:
- Hands-on and visual
- Great for younger learners
- Inexpensive to make
- Easy to adapt for homeschool or classroom use
- Perfect for Earth Day or science units
- A fun mix of science and sensory play
Best of all… kids can actually hold the layers of the Earth in their hands.
🧠 What Kids Learn from This Activity
While making these Earth models, kids naturally practice and explore:
- The Earth’s core, mantle, and crust
- Basic geology concepts
- Fine motor skills
- Spatial understanding
- Sensory exploration
- Following steps and sequencing
It turns a science concept into something tangible… and those kinds of lessons tend to stick.
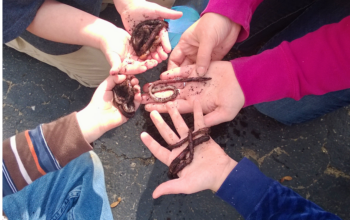
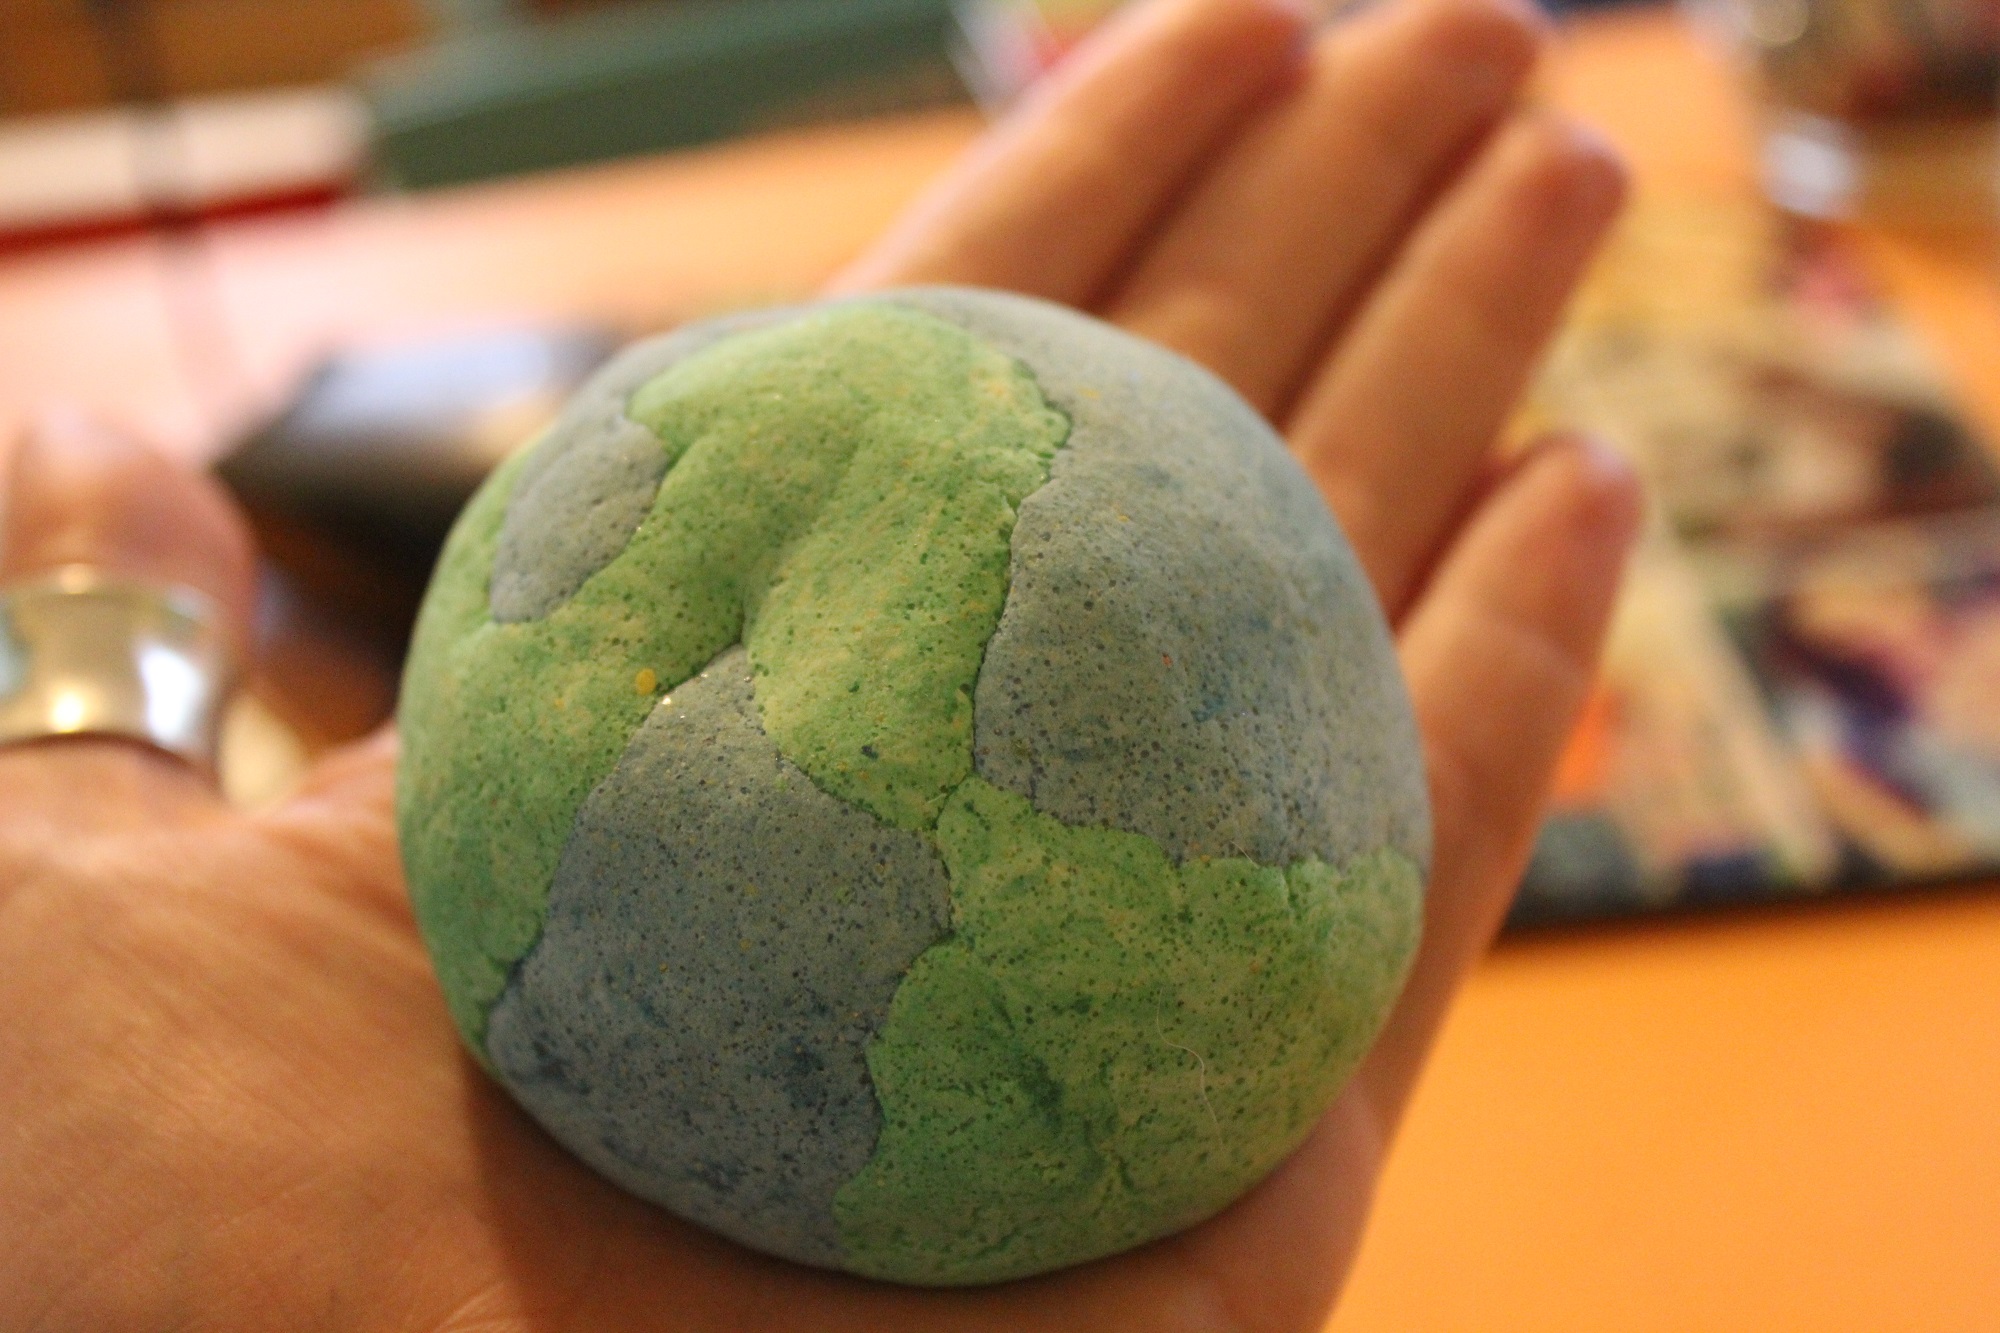
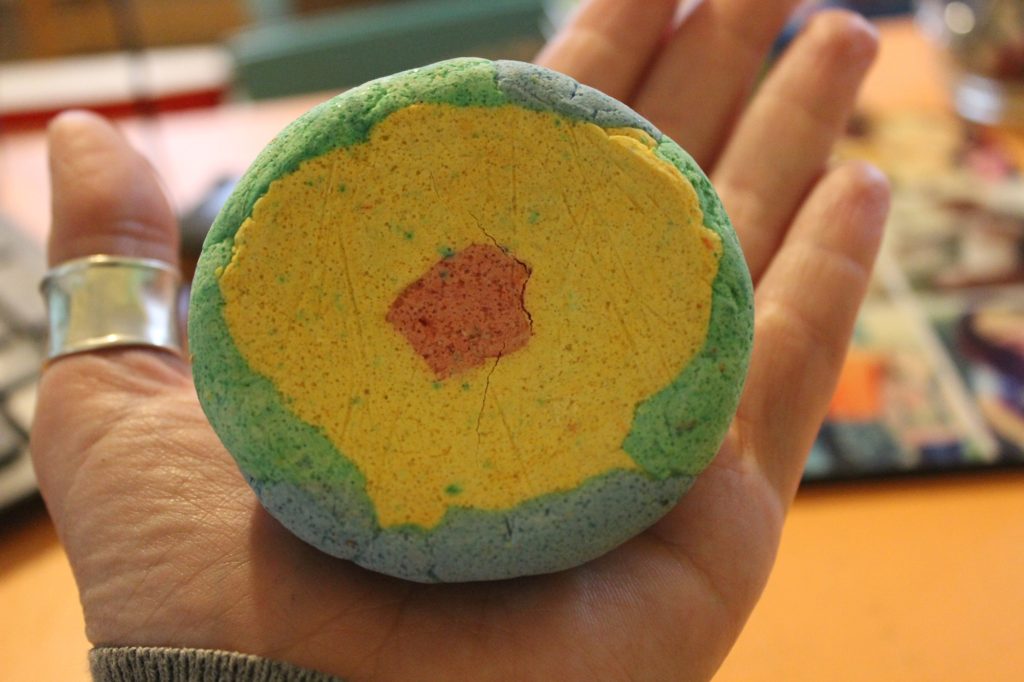
🌍 How We Built the Earth Layers
These are easy to make, and they don’t have to be perfect when done!
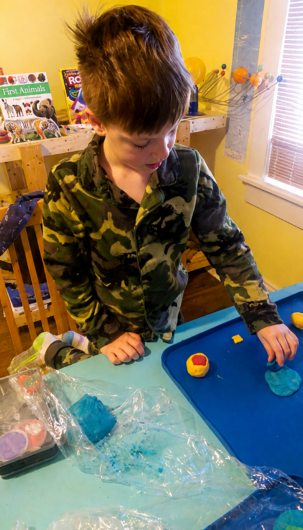
- We started by rolling a small red ball for the Earth’s core.
- Next, we wrapped yellow dough around part of the red layer to create the mantle, leaving a little red visible so the inside could still be seen.
- After that, we added blue and green pieces around the outside for the oceans and land.
There’s really no “perfect” way to do this and it allows the kids to get creative. You could show them an example or just tell them to shape the land how they would like it.
We Used Homemade Salt Dough
We used homemade salt dough for this project because:
- it’s inexpensive
- easy to make
- dries into a keepsake
If you already have playdough or clay, you can absolutely use that too.
👉 You can find my simple homemade salt dough recipe here.
Drying the Earth Models
Once assembled, place the models on parchment or wax paper with the land/ocean side facing upward.
Let them air dry for several days. You can bake salt dough at a low temperature (around 200°F), but layered projects tend to crack more easily in the oven, so we usually just let ours dry naturally.
Tips and Thoughts
If making a larger center, use balled up foil as the true center and put the red dough around it. This can be another teaching point as metal is at the center of the Earth, though it is liquid metal, but it could help the kiddos remember the point.
Setting the Earths on parchment will make one side flat, which is fine, it is like you cut into the Earth that way, however, if you want it to be round, you will need to build each layer and allow it to dry before moving on to the next layer.
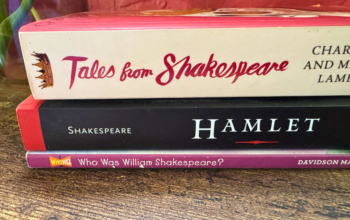
⭐ Pair This with Earth Resources
While we worked on this project, we also used the book Earth in 30 Seconds alongside it.
It’s filled with short, approachable Earth science concepts that work really well for younger learners and hands-on lessons like this one.
👉 I’ve linked the Earth science books, supplies, and fun Earth items we used here.
❤️ Final Thoughts
We did this Earth’s layers activity about 11 years ago and they’re still sitting on our bookshelf. When the kids were younger, they were part of a bigger science display. Now that they are much older, they are keepsakes!
They’re not perfect, polished projects… but that’s part of why I love them. They may not last forever, but they mean a lot to me after the years!
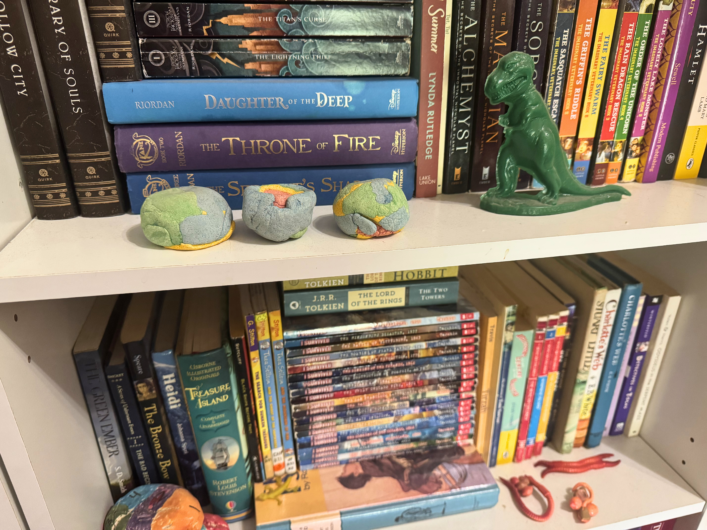
They remind me that learning doesn’t always have to look formal to matter.
If you make this Earth’s layers activity, I’d love to see them! Comment below or tag @bemandfam on Instagram or Facebook so I can see your version.
Don’t forget to save this for Earth Day or your next Earth science unit.
BEM and Fam 🙂
Save This for Later

PS. This post has some affiliate links, read more about those here.