
Making a Paper Mache Volcano
A Fun Earth Science Experiment
Updated September 2025: We made this paper mache volcano 10 years ago… and this post got a little refresh. I’ve cleaned up the steps, added a few learning extras (including a FREE printable), and linked to our favorite books and volcano kits. If you’re coming back… welcome! If you’re new, I am so glad you found this. See more about the update at the end of the post!
We were deep into our homeschool Earth unit when the kids asked if we could make a volcano. I said yes without really thinking it through, and I’m glad I did. There’s just something about the idea of a volcano that gets kids excited. They are powerful and big… and I think many are drawn to that.
This paper mache volcano became one of our favorite projects. It took a little time, but it gave us space to slow down, get our hands messy, and have some real fun together. Below is how we made ours… including what worked, what I’d do differently, and a few extras if you want to stretch the learning.
Making a Paper Mache Volcano
What You’ll Need
- A 2-liter soda bottle (or smaller 20 oz for a mini volcano)
- A sturdy cardboard base (we used a pizza box)
- Duct tape
- Lots of newspaper
- Flour or white glue (I’ll explain both methods below)
- Baking soda and white vinegar
- Acrylic paint + brushes
- Funnel (helpful for the eruption)
- Plastic tablecloth or paint tray
- Optional: red food coloring
Step 1: Build the Volcano Base
Cut a square or round piece of cardboard for your volcano base. We used a pizza box and cut it down. The bigger the base, the more gradual the slope of your volcano will be.
Tape the soda bottle to the center of the cardboard base.
Next, cut long strips of cardboard and attach them from the neck of the bottle down to the base. Think of it like building ribs for the volcano. Don’t worry about perfection — just make sure it’s sturdy.

Step 2: Choose Your Paper Mache Recipe
There are a few ways to make paper mache. We’ve tried them all. Here’s the quick breakdown:
| Method | Ingredients | Why Use It |
|---|---|---|
| Glue | 1:1 white glue + water | Strongest, easiest to mix |
| Baked Flour | 1 part flour + 5 parts water (boil, then cool) | Less likely to mold and edible |
| Unbaked Flour | 1:1 flour + water | Quickest, and edible if needed |
We used the unbaked flour version here, and we’ve never had mold issues, but we always make sure to let it dry really well. These days, I lean toward the glue version for older kids or longer projects.
Step 3: Add the Paper Mache Layers
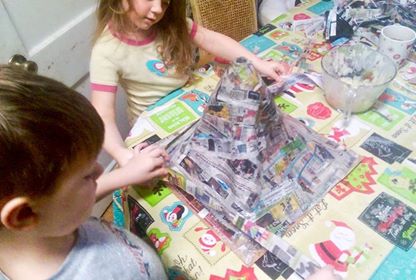
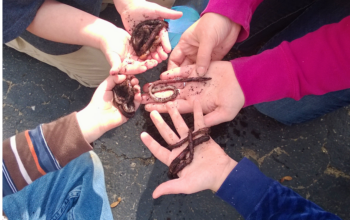
Rip up newspaper into strips, this is a fun job for kids. You can see my kids below… and I can tell you that they LOVED it!
Dip the strips into your paste, wipe off the extra, and start wrapping them around the volcano. I like to do one “support layer” going around the volcano first, then let it dry.
Then go up and down with the strips… covering the whole volcano and part of the base so it looks connected.
Repeat the process a couple of times until it feels solid. Just make sure not to cover the opening of the bottle. You’ll need that for the eruption later.
Let everything dry completely. If you’re using a flour method, that might take a day or two. We waited a week just to be sure.
Step 4: Paint the Volcano
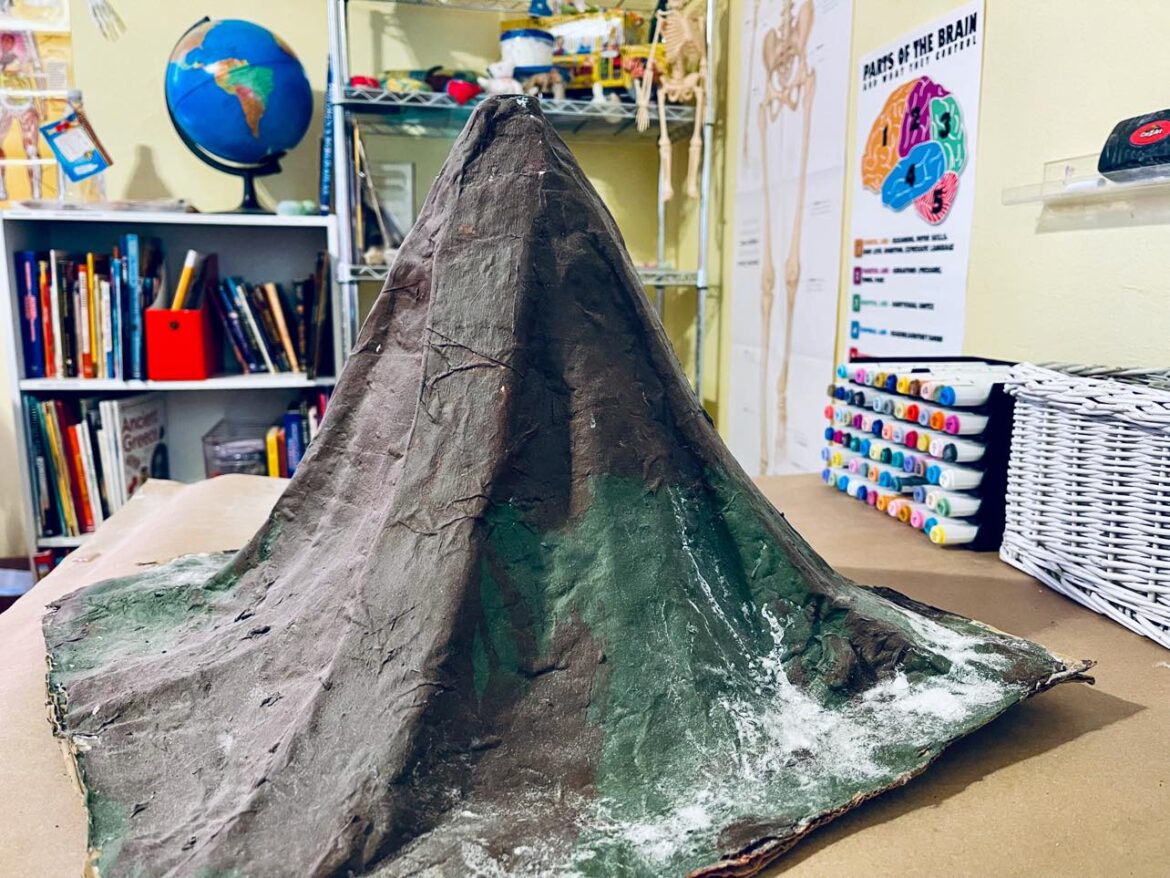
Once it’s dry, it’s time to paint! We used mostly brown with a few touches of green.
There’s no wrong way to do this, search “painted volcanoes” on Pinterest and you’ll see so many fun versions. Let your kids run with it. You can see ours below. The white is actually the residue of the baking soda… but I think it just adds to it!

🎨 Recommended Acrylic Paint Sets:
Option 1 – Budget-Friendly Starter Set
🛒 Apple Barrel 18-Color Acrylic Paint Set
→ Perfect for paper mache + craft projects
Option 2 – Starter Set with Brushes
🛒 FolkArt Multi Satin Finish Acrylic Craft Paint Set
→ Great for a bit richer browns, greens, lava colors
We used acrylic paint for this project because it holds up better when wet, especially important if your kids erupt it more than once. Washable paint tends to smear when vinegar and baking soda come into play. A coat of Mod Podge can help seal it if you want to keep the volcano around for a while.
Step 5: Make It Erupt! (The Fun Part)
You’ll need:
- About 4 tablespoons of baking soda
- 1 cup of white vinegar
- A funnel
- Optional: red food dye or washable paint
Place your volcano on a surface that can get messy (we used our tub). Put the baking soda into the bottle. Add the food coloring if you’re using it (we didn’t the first time). Then pour in the vinegar and step back!
It won’t explode, but it will bubble up and overflow like lava. You can repeat the eruption as many times as you want, just add more baking soda and vinegar.
Want to Take It Further?
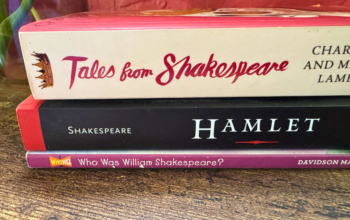
We extended our volcano lesson by reading books and looking at real igneous rocks. It was an easy way to turn craft time into a full science day.
📚 Here are some of our favorite volcano books and kits:
-
Rock Sample Set – begin teaching about the 3 types of rocks!
Not sure where to start… check out my Amazon Volcano list… It even includes supplies!
🧠 Extend the Learning with a FREE Printable
If you’d like a simple Volcano Page your kids can use to learn more about volcanoes… including some research… click here!!

Final Thoughts
This wasn’t the fastest project, but it was one of the most fun. If you’re short on time, grab one of the kits above and still enjoy the eruption. But if you can swing it, the full paper mache version is a great way to create something messy and memorable.
If you make your own volcano, I’d love to hear about it. Leave a comment below, or tag me @bemandfam on Instagram, Facebook, or Pinterest… I’m usually hanging out in one of those places with a coffee and a project.
BEM + Fam 🙂
👉 Save This For Later
Want to come back to this? Pin it so you can find it again when you’re ready to erupt!


🛒PS. This post has some affiliate links, read more about those here.
📝 Update from Our Family
This volcano was originally made over a decade ago… and we still have it.
It’s been painted, erupted, moved from shelf to shelf, and even packed through a couple of house projects. One of the kids asked to erupt it again just a year or two ago, and of course we did. I think I’ll keep it until it fully disintegrates. Too many memories are wrapped up in that crusty paper mache to let it go just yet.
If you’re wondering whether this project is worth the mess or the time… I’ll just say this… we still talk about it and it is still loved!
💗 BEM
Hi, thank you so much for the directions. Just made my first paper mache volcano and it was very easy to follow. It came out great and will definitely make again in the future! Happy New Years 🙂
That makes me so happy to hear… thank you for taking the time to comment! Happy New Year! 🙂