Easy Chicago Style Deep Dish Pizza Night
Chicago-Style Deep Dish (A Different Kind of Pizza Night)
April 5th is National Deep Dish Pizza Day, also known as Chicago-style pizza, and since we already make pizza at home pretty regularly, it felt like a good excuse to try something a little different.
I actually used to live in Chicago, so when I first moved there, I had to try deep dish. I’ll be honest… I wasn’t overly impressed. It’s just not my favorite kind of pizza. That said, if I had to pick one, I’d go with Lou Malnati’s. There’s something I like about it the best.
I once read that Chicago deep dish pizza came about because Chicagoans thought New York-style pizza was too simple… so they made something you couldn’t even eat with your hands, you HAD to use a fork. They felt it was more dignified.
I don’t know if that’s completely true, but it kind of fits… Deep Dish Pizza isn’t a grab-a-slice pizza. It’s layered, it’s thick, and you usually need a fork.
What Makes Deep Dish Different
If you’ve only ever had traditional pizza, deep dish feels a little backwards at first.
- The crust is thick and more like a pie
- The cheese goes on first
- Then the toppings
- Finally, the sauce goes on top
It takes longer to bake, and when it comes out, it feels more like a full meal than something you grab by the slice. You’re not folding this and eating it on the go… you’re sitting down with a fork.
Ingredients You’ll Need
I originally thought I would just use my regular pizza crust recipe (which is awesome), but after some digging, I saw that most authentic deep dish has some corn meal added to the flour. The rising process also usually asks for laminating, which I will explain later. So, I changed some things up, however, the basic ingredients are the same.
Dough:
- flour
- cornmeal
- yeast
- sugar
- salt
- water
- butter, both melted and room temp
- oil
Toppings:
- mozzarella
- parmesan
- any other toppings you like (sausage, pepperoni, mushrooms…)
Sauce:
I use my pasta sauce for all of my pizzas, however, if I am out, I use Muir Glen Organic Pasta Sauce.
You can use whatever sauce you like but I end up using about 24 ounces of sauce.
How This Comes Together
Much like most doughs you mix the dry ingredients first and then add the wet ones. I use a stand mixer to mix everything for a minute or two then pour onto a clean surface and knead until combined.
This dough requires two rises, which is why it isn’t a pizza for every night, but it is simple to let rise and work on other things.
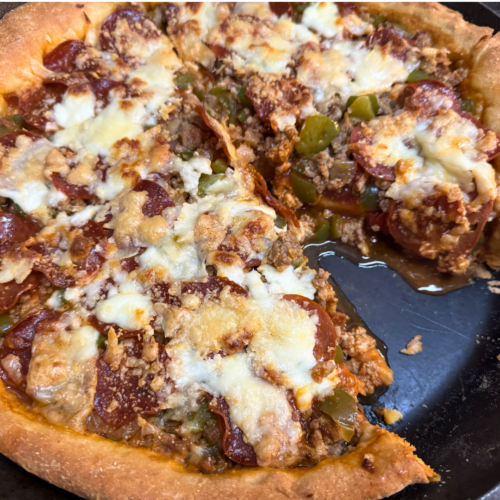
I bake this in my 16 inch cast iron skillet and then allow to sit for about 10-15 minutes before serving.
A Few Things I Noticed
After making it at home, a few things stood out:
- It really does need to sit before cutting
- A deeper pan makes a big difference
- It’s more filling than regular pizza
- A small slice goes a long way
- Leftovers are actually really good the next day
It’s not as complicated as I thought it would be… just different.
Freezing the Dough
Just like with my regular pizza dough, you can make this ahead of time and then freeze it. Just make it, let it rise both times, then freeze in a freezer safe container. Once you’re ready to use, pull it out the night before and pick up where you left off.
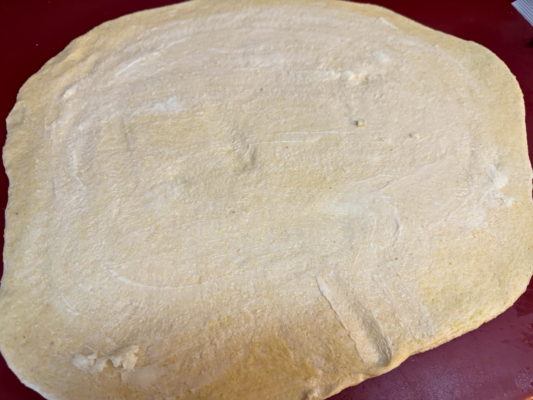
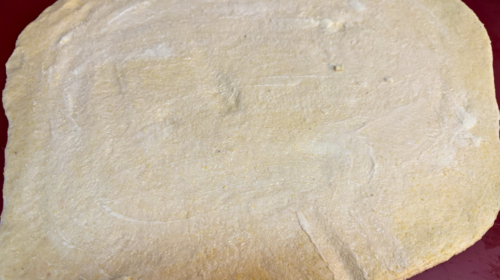
Laminating the Dough
I mentioned earlier about laminating the dough. This is a process where butter is used to spread on the dough after it has been rolled out. The butter allows moisture to expand the dough, so the more times it is laminated, the puffier it gets. I only did this once for this recipe, but those that make croissants or other pastries do it many times to get that airy, puffy texture. You could do it twice here.
I explain the process more in the below recipe card, but you can see the process a bit here.
A Few Things That Help
You don’t need anything fancy, but a couple things make it easier:
- A deeper pan or cast iron skillet
- A good pizza cutter
- A sturdy spatula for serving
👉 I’ve linked the pan and tools, plus my other kitchen favorites here.

🍕 Final Thoughts
Chicago style deep dish pizza isn’t quick… and it’s not supposed to be. It’s layered, a little heavier, and more of a sit-down meal than a grab-and-go one. Pair this with a salad and you have a great meal.
Hope you enjoy this Deep Dish recipe as much as we do! If you make this… I’d love to hear about it! Comment below or head over to Instagram or Facebook, share your pics, and tag me @bemandfam… I’d love to see them!
BEM and Fam 🙂
👉 Save This for Later
PS. This post has some affiliate links, read more about those here.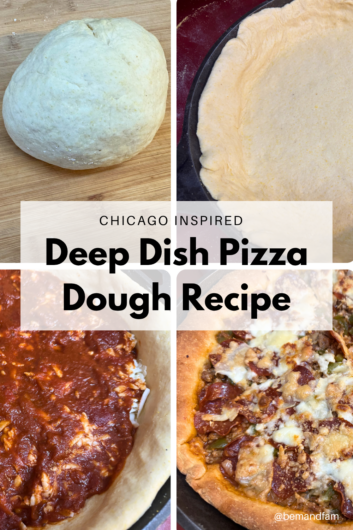


👇 Print the Deep Dish Pizza Recipe
- 3 ½ cups all purpose flour
- ½ cup yellow cornmeal
- 2 ¼ tsp yeast or you can use a .25 ounce pack of rapid rise yeast
- 2 tsp sugar
- 1 tsp salt
- 1 ¼ cups water room temperature
- 3 tbsp melted butter
- 4 tbsp room temperature butter
- olive oil
- 1 tbsp room temperature butter for greasing pans
- 24 ounces sauce your favorite sauce
- 16 ounces shredded mozzarella cheese
- ⅓ cup parmesan cheese
- meat and veggies see notes
-
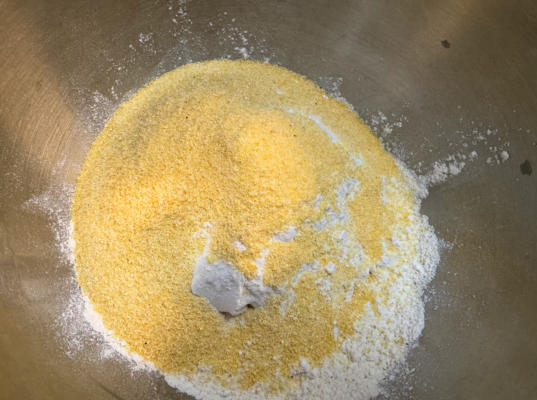
Combine the cornmeal, flour, sugar, salt, and yeast until mixed thoroughly.
-
Add the melted butter and water and mix for 1-2 minutes. On a clean surface, pour dough (which will likely still be very crumbly) out and hand knead for about 5 minutes until combined.
-
Take a little oil and coat the sides and bottom of mixing bowl that will allow your dough ball to double in size. Place the dough all into the bowl and then flip the dough allowing oil on both sides. Cover with hand towel or plastic wrap and allow the dough to rise for an hour.
-
After the dough has risen an hour, place the oven rack on its lowest position and preheat to 425℉
-
Turn the dough out onto a clean a slightly floured surface. Roll the dough out into a rectangle that is around 15x12 inches.
-
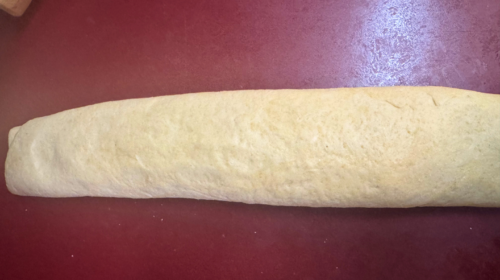
Take room temperature butter, spread it all over the surface of the dough. Roll the dough from the short end (like rolling cinnamon rolls).

-
Place the seam down on the counter and flatten the dough with hands until the dough is about 4 inches wide. Fold the dough into thirds (folding like a letter) and roll into a ball.
-
Place back into the bowl to rise again and cover, except this time place it in the refrigerator for about 45 minutes
-
While the dough is rising, prep the toppings. Cut any veggies like mushrooms, sauté veggies like onions and peppers. Cook any meats like sausage.
-
Gather cheese, sauce, and toppings
-
Take a little butter and grease your skillet or pans
-
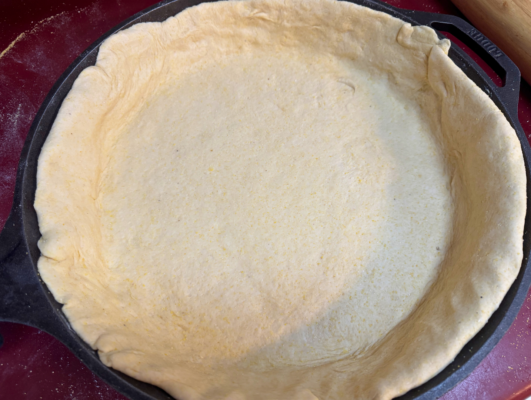
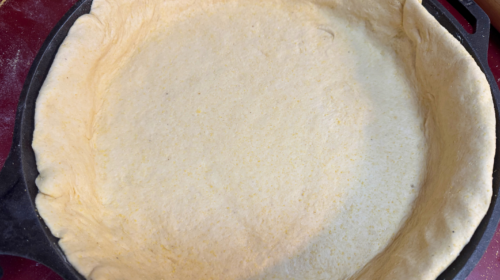
On your floured countertop, roll the dough out until it is about ¼ inch thick and a roundish disk. Transfer the dough to the prepared skillet or pan and lightly press into corners. Let dough sit high on the sides, however, if any dough is too long for the sides, simply push down. Think of this like a pie crust. It is fine if it is thick.
-
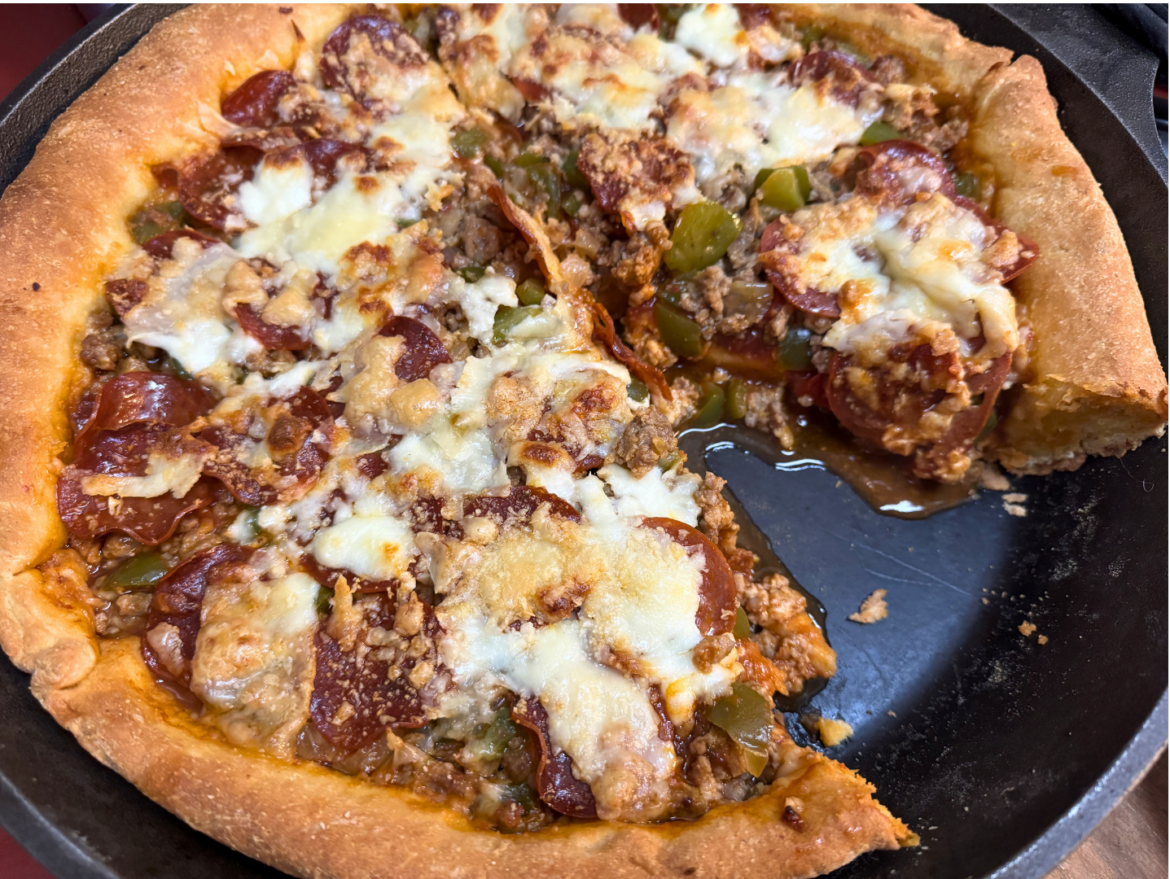
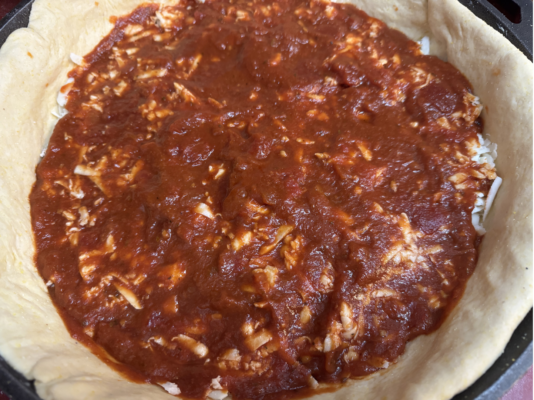
Add the mozzarella cheese to the pizza (yes, it is first), then add the toppings, spoon on the sauce, and top with the parmesan cheese.
-
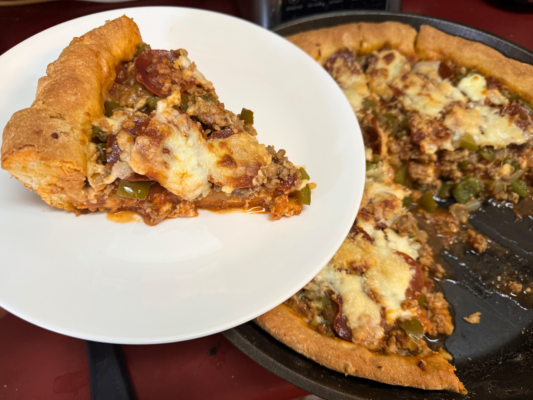
Bake the pizza for about 25 minutes or until the crust is golden. If the crust is getting browner than you would like, you could add foil.
-
When pizza is done, remove from oven and allow to set for 10-15 minutes before serving.
Notes:
- You can use whatever you want for toppings. I used a pound of sausage, a package of pepperoni, an onion, and a couple of bell peppers. So, we are looking at 1 1/2-2 pounds of toppings, and the pizza could have easily held more. Just think about the volume when adding and precook or pre-sauté all meat and veggies that need it.
- My pizza shows a little extra cheese on top and that is because I shredded too much cheese and just threw it on with the parm, however, I would not do that again. It made the cheese layer too solid. I would just stick to the third cup parm.
- I made one pizza, but you could make 2
- divide the dough after first rise and follow instructions on each half
- split the cheese, sauce, and toppings and build accordingly
- Unlike the traditional pizza dough that I make, this crust calls for room temp water and a refrigerator rising. This seems like it won't let the yeast work, however, it just is allowing it to rise slowly.