Easy Halloween Mummy Craft
Easy Halloween Mummy Craft Using Recycled Cans
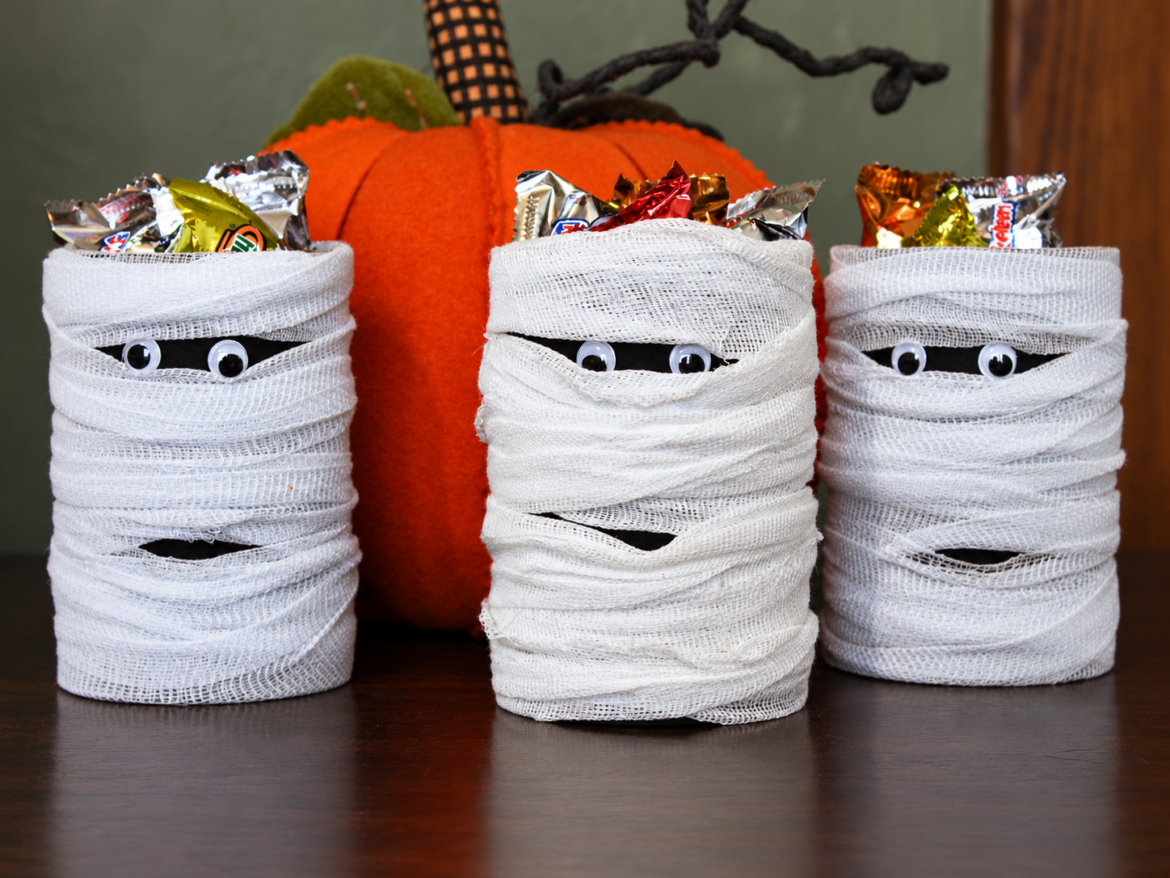
When my kids were younger, we made these cute little mummies using empty cans, construction paper, googly eyes, and gauze. They’re simple to make, don’t require a ton of supplies, and are one of those crafts that actually look cute sitting out as Halloween decorations.
I think this project if great for older kids and teens too. Sometimes it can be difficult to find crafts that aren’t too childish but are still fun to make. These mummies are easy enough for younger kids with a little help, but older kids can get creative with the faces, wrapping, and even how they use them afterward.
As a bonus, you’re giving those empty cans a second life!
Why I Like This Halloween Mummy Craft
There are plenty of Halloween crafts out there, but this one has a few things going for it.
- Uses recycled materials you probably already have
- Requires only a handful of inexpensive supplies
- Works for different ages, including tweens and teens
- Makes cute Halloween decorations
- Can be used as pencil holders or treat containers
- Easy to customize with different expressions and personalities
You could even make a whole little mummy family with different-sized cans!
What You’ll Need
You don’t need anything fancy for this project, and you may already have most of the supplies at home.
- Empty, clean cans (one for each mummy)
- Black construction paper or cardstock (alternatively, you could paint the can black)
- Googly eyes
- Gauze
- Craft glue
- Tape
- Scissors
A note about the cans: Be careful with sharp edges, especially if younger children are helping. I recommend using a safety can opener that leaves smooth edges. You could also use plastic cups or other containers if you prefer.
How to Make Your Halloween Mummies
These are fairly simple to put together, and you can make several at once if you’re crafting with a group.
Step 1: Prepare Your Can
Start with a clean, dry can. Measure the height of the can and cut a piece of black construction paper large enough to wrap around it. If you decided to paint the can, do that here and let it dry.
I used black because it gives the mummy a dark background, which helps the eyes stand out between the gauze.

Step 2: Wrap the Can
Tape one end of the construction paper to the can, add a little glue around the outside, and wrap the paper until the can is covered. Secure the other end with tape. Don’t worry too much about how the tape looks because most of it will be hidden under the gauze.
I actually used painter’s tape when we made ours because that’s what I had on hand. It worked just fine!


Step 3: Add the Eyes
Glue the googly eyes onto the black paper, leaving enough room around them for the gauze. I let ours dry for about ten minutes before moving on. You don’t necessarily have to wait that long, but I didn’t want the eyes sliding around while I was wrapping everything.
You can use two eyes, different-sized eyes, or even place them a little crooked to give each mummy some personality.

Step 4: Wrap Your Mummy
Glue one end of the gauze to the can and begin wrapping it around, leaving the eyes visible. You don’t need to wrap it perfectly. In fact, I think they look better when the gauze overlaps a little differently here and there.
Once you reach the bottom, tuck the end underneath another layer and secure it with a dab of glue.

Step 5: Give Your Mummy a Face
For ours, I pulled a little piece of gauze near the center to create a mouth. I added a bit of glue and held it in place until it stayed.
You can skip this step or try different expressions. Some mummies could look surprised, some silly, and some a little spooky. Allow everything to dry, and you’re done!
A Few Ways to Use Your Mummies
One of the things I like about this Halloween craft is that you can actually use the finished project for something.
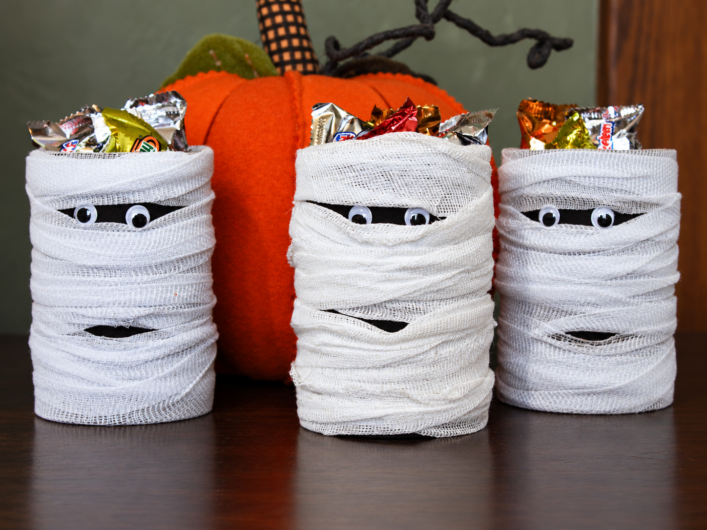
🎃 Halloween Decorations: Set a few together on a shelf, mantel, or entryway table. Different-sized cans would make a cute little mummy family.
✏️ Pencil and Pen Holders: This is especially fun for older kids and teens. They can keep their mummy on a desk and use it throughout October.
👻 Halloween Treat Containers: I actually filled some of ours with candy for a small Halloween party! You could add wrapped candy, little toys, or other Halloween treats.
⭐ Party Craft: Set out the supplies and let everyone make their own mummy. It’s an easy activity for a Halloween gathering, especially if you prepare the containers ahead of time.
If you’re using these for treats, make sure the cans have smooth edges and use individually wrapped candy rather than placing unwrapped food inside.
A Few Tips and Variations
You can change this project quite a bit depending on what you have and who’s making it.
If you’re crafting with younger children, plastic cups or cardboard containers might be easier than cans. You could also use black paint instead of construction paper, especially on containers where the paper doesn’t wrap neatly.
I used regular gauze, but you can experiment with different widths or layers. You could even add a little glow-in-the-dark paint to the eyes or gauze for something different.
And don’t feel like you need to make every mummy look the same. That’s part of the fun!
A Few Supplies That Make Halloween Crafting Easier
You probably have scissors, tape, and glue already, but there are a few supplies that are handy to keep around if you enjoy making seasonal crafts with your kids.
- Googly eyes: I like having assorted sizes for different craft projects.
- Craft gauze: Useful for these mummies and other Halloween decorations.
- A safety can opener: A useful kitchen tool that also makes reusing cans for crafts easier.
- Craft glue: A good all-purpose glue comes in handy for so many projects.
- Black construction paper: Cardstock or black paint will work too.
More Halloween Fun
You’ve Been Booed!
Another fun way to use these little mummies is for a You’ve Been Booed surprise! If you’ve never heard of it, it’s a Halloween tradition where you secretly leave a small basket or bag of treats at someone’s door, usually with a little note encouraging them to pass the fun along.
These mummies would make adorable containers for a few pieces of wrapped candy, Halloween pencils, stickers, or other small treats. You could even fill a couple and surprise the neighbors, friends, or grandparents!
It’s a cute way to turn an afternoon craft into a little Halloween kindness. If you’d like to include a note with your surprise, I also have a You’ve Been Booed printable in my Etsy shop that you can use.
More Halloween Activities and Ideas
From crafts, family activities, treats, and costumes… you can find more ways to celebrate the season here.
👉 Explore More Halloween Ideas
Final Thoughts
I think one of the reasons I still enjoy looking back at crafts like these is that they remind me how simple some of our favorite activities really were. We didn’t need a huge project or expensive supplies. Sometimes we just used what we had around the house and made something fun.
These little mummies are a good example of that. They’re inexpensive, easy to make, and cute enough to bring out every Halloween. I especially love that older kids can enjoy making them too, because those opportunities to sit around the table and create something together change as kids grow.
If you make these Halloween mummies, I’d love to see how yours turn out! Leave a comment below or head over to Instagram or Facebook and tag me @bemandfam so I can see your creations.
Happy Halloween!
BEM and Fam 🙂
👉 Save This for Later
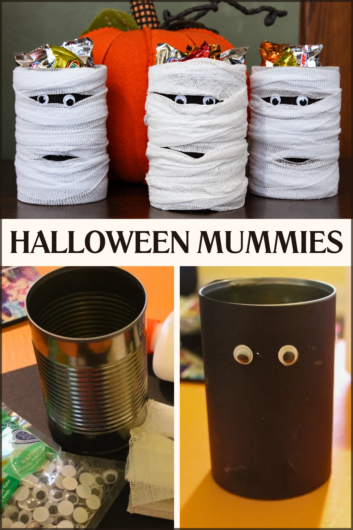
Want to come back to this? Pin it so you can find it again when you’re ready!
PS. This post has some affiliate links, read more about those here.